In order to complete this installation you will need the Creatable account ID from the dashboard. You can find this by clicking the icon in the upper right cover with your mouse.

Once you have this, we can get started!
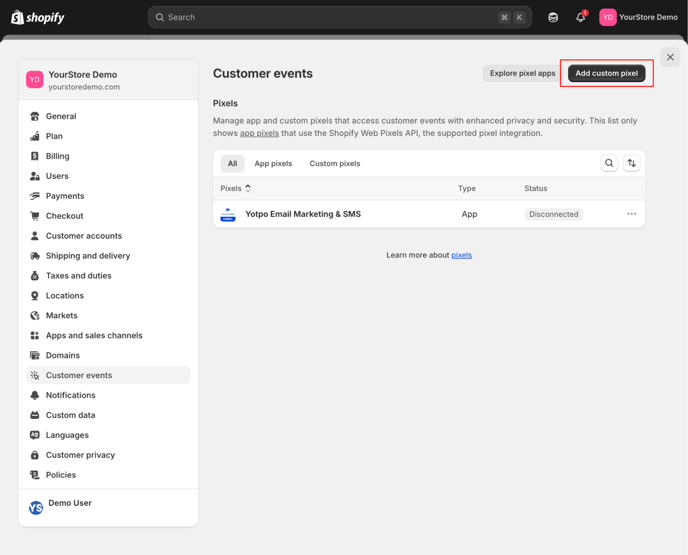
Create a custom pixel
Step 1: In your Shopify admin, navigate to the Settings at the bottom right.

Step 2: Click on “Customer events”.

Step 3: Click “Add custom pixel”.
Step 4: Name the pixel and click “Add pixel”. Now we finish the pixel setup.

Step 5: Open the “Data sale” collapser in the “Customer privacy” section and choose “Data collected does not qualify as data sale”. This means that the pixel will fire to collect the conversion event, even if the customer has opted out.. Your data is always safe with us and we do not store and PII about your customers.

Step 6: Copy and paste the following code into the code section. Be sure to replace YOUR_ACCOUNT_ID with the ID we collected from the beginning of this document.
Shopify Checkout Completed Customer Event Code - Github
const script = document.createElement('script');
script.setAttribute('src', 'https://a.tvpage.com/tvpa.min.js');
script.setAttribute('async', '');
document.head.appendChild(script);

_tvpa = window._tvpa || [];
_tvpa.push(['config', {
  li: "YOUR_ACCOUNT_ID", // Creatable Account ID
  mode: "dl"
}]);

analytics.subscribe("checkout_completed", (event) => {

  tid = event.data?.checkout?.order?.id;
  products = event.data?.checkout?.lineItems.map((item) => {
    return {
      sku: item.variant.id,
      price: item.variant.price.amount,
      quantity: item.quantity
    }
   });

  orderData = {};
  orderData.tid = tid;
  orderData.orders = products;

  _tvpa.push(['track', 'products', orderData]);
});
Step 7: Click “Save” in the top bar.

Step 8: Now, at the bottom of the page, click “Connect”.
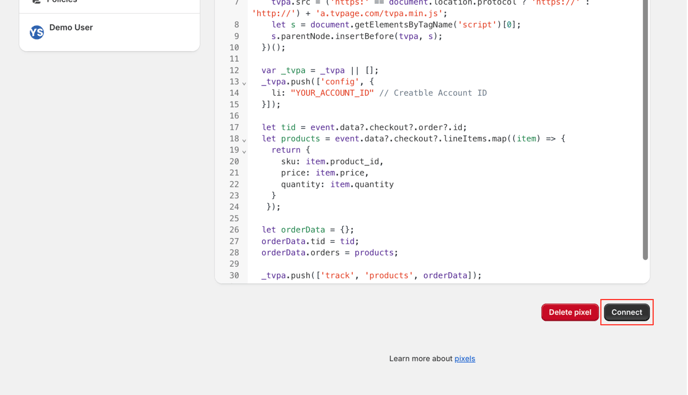
Step 9: Click “Connect”.

Step 10: You’re done. The Creatable conversion tracking pixel is installed and activated.

Line item discounting
By default, our conversion tracking pixel tracks the full amount of the items being purchased (not including any discounts). If you wish to configure the conversion tracking pixel to reflect the line item level discounts, you can do so by updating the products object to calculate the discounted amount per item.
  products = event.data?.checkout?.lineItems.map((item) => {
    return {
      sku: item.variant.id,
      price: item.finalLinePrice / item.quantity,
      quantity: item.quantity
    }
   });
If you have any question, please feel free to reach out to support@creatable.io.