This article describes the steps to follow to add a CNAME record on a GoDaddy domain.
(Source: https://www.godaddy.com/help/add-a-cname-record-19236).
Add a CNAME record
Add a CNAME (alias) record to use a domain prefix, such as blog to point your domain to another domain name, or URL, when your domain is using GoDaddy nameservers. To add a domain prefix that points to an IP address, add a subdomain instead. The most common CNAME is www, with the @ symbol entered for the Value field. This will make www.mycoolnewbusiness.com load to the same webpage as the root domain, mycoolnewbusiness.com.
- Log in to your GoDaddy Domain Control Center . (Need help logging in? Find your username or password.)
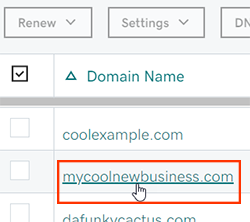
- Select your domain to access the Domain Settings page.
- Select Manage DNS under Additional Settings.
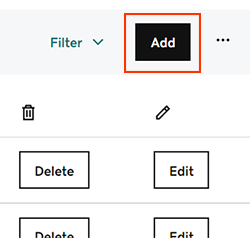
- Select Add to add a new record.
- Select CNAME from the Type menu options.
- Enter the details for your new CNAME record:
- Name: The host name or prefix the CNAME record will be set to. You can include a period (.) but not as the first or last character. Consecutive periods (...) are not allowed, and the host cannot exceed 63 characters or be the @ symbol. You can't use a host that's already assigned to an existing A record, TXT record or MX record.
- Value: The URL you are setting as the destination for the host. Type @ to point directly to your root domain name.
- TTL: How long the server should cache information. The default setting is 1 hour.
- Select Add Record to save your new CNAME record.
Most DNS updates take effect within an hour, but could take up to 48 hours to update globally.
Related steps
- Edit an existing CNAME record to change any details.
- Or, delete a CNAME record if it's no longer needed.
More info
- Make sure you turn on auto-renew to continue your domain registration uninterrupted.
- We recommend setting up 2-step verification for the best security on your domains and account.
See screen recording below for reference: